The tools and features shown in this tutorial are available in all Carveco products


Magic Wand
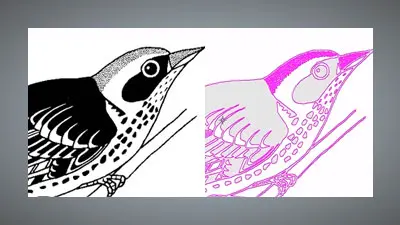
The ‘Magic Wand‘ tool allows you to automatically create a vector boundary around sections of imported artwork or imported relief models. Furthermore, you can adjust the tolerance of your selection to determine how closely you wish to follow the edge of the selection.
Best practices for the Magic Wand Tool
Like the example shown in the video; the Magic Wand tool works best on images or graphics that have clearly defined areas of colour and limited colours such as logos and similarly 'designed' graphics. This allows the software to identify clear sections of similarity and create vectors around those sections.
If the image you're working on has many colours, try using the Reduce Colors slider bar ('Bitmap > Colours > Reduce Number') to reduce the overall number of colours in the image while retaining a good amount of fidelity. This will aid the Magic Wand in creating clean vector boundaries.
You won't get a good result from photographs as these contain thousands of different colours and shades.

